I installed pihole

Describing my 2024 as merely eventful would be a disservice to it. It’s the year I decided to walk my talk on self-hosting. And, of course, I started with Pihole and Unbound. This blog is less of a tutorial and more of documentation for myself. I am this blog’s audience. My memory isn’t as sharp as it used to be, probably due to clinical depression. I enjoy reading about things I’ve done in the past as a form of self-reflection, and this blog entry serves that purpose perfectly.
So, what do I have here?
1 rp4 (it doesn’t need to be a pi4. It was just the one that was available for me)
1 4Gb microSD card (can be higher, but I used 4Gb and later replaced it with 64Gb)
Pi Imager
Raspberry Pi charger
Network cable connected to the rp4
Ubiquiti Dream Machine (can be whatever router you have)
Step 1. Install the OS
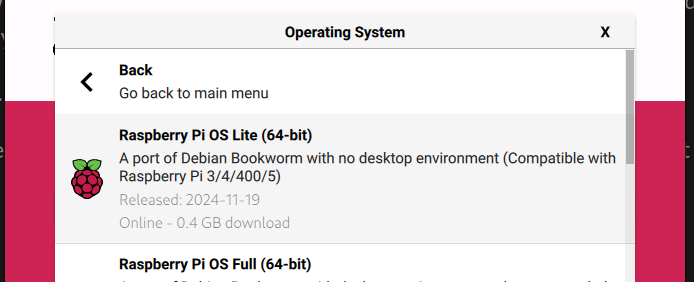
I picked the OS lite version, which is basically just a CLI. I flashed a 4Gb microSD card with the image using the Pi Imager.
Step 2. Enable SSH
You don’t have to do this, and you can work directly on the Pi itself. But I preferred SSH. I forgot to enable SSH during the installation, so I had to enable it using raspi-config.
sudo raspi-config
In the menu, select 3 Interface Options > I1 SSH > Would you like the SSH server to be enabled? Click <Yes>
Step 3. Find your IP
Once everything was configured, I used the command ip a to check the network details. Look for the section labeled eth0. The IP address of the Rp4 will be listed next to inet and follows the typical format: 192.x.x.x This is the address you'll use to SSH into your Pi.
Step 4. SSH to your pi
From the CLI, type ssh username@192.X.X.X. Replace the username with your actual pi username and 192.X.X.X with the IP address you found earlier.
Step 5: Update and Reboot
Once you’re connected, update your Raspberry Pi to ensure you have the latest packages and updates. Run this on the terminal
sudo apt update && sudo apt upgrade -y && sudo reboot
Step 6: Set a Static IP
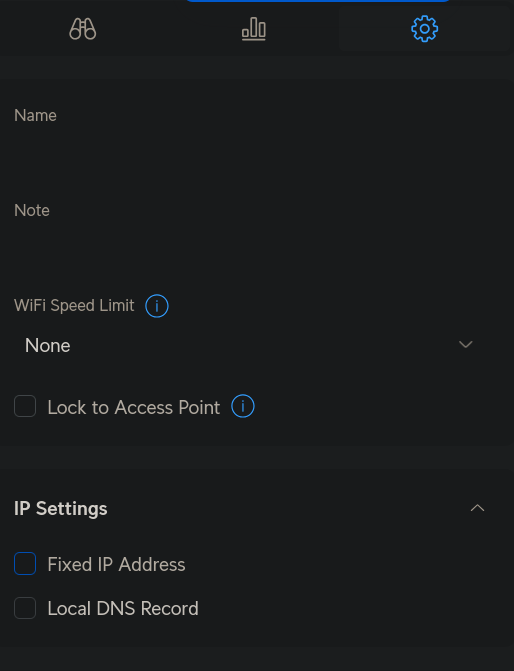
Pihole requires that you have a static IP, so that it won't change in the future. If you’re using a Ubiquiti network, this is how to do it:
Network – Client Devices – pick your device (should be named raspberry pi) – IP settings – Fixed IP settings
Step 7 Install Pi hole
From the terminal, type curl -sSL https://install.pi-hole.net | bash and you’ll see this cute logo
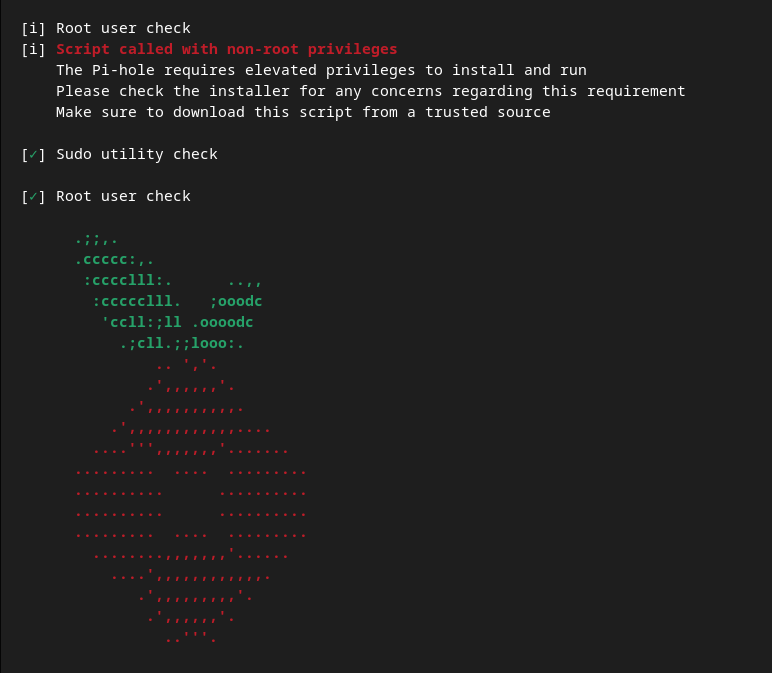
This is followed by an alert saying 'This installer will transform your device into a network-wide ad blocker!' Select <OK>. You will be asked to donate, which you should if you have the audacity of installing it.
It will ask if you’ve set up a static IP, if you have done Step 6 then click <OK>. Next is selecting an upstream DNS. Pick whatever for now because we will install Unbound in a jiffy (jiff? Ugh. English slangs). If you’re not installing Unbound (you should though), I believe Quad9 would be the second best.
You’ll also be asked about Blocklists. Just press <YES> to include the unified host list, or skip it for now and add one later if you prefer. You can always add more Blocklists in the future. Then, you’ll be prompted to set up the GUI (graphical user interface). This will let you access and manage Pihole through your browser by going to your Pi’s IP address followed by /admin.
When it comes to privacy mode, select "Show Everything" for now. This will give you a better understanding of how Pihole works. Just be aware that this setting shows all the queries made on your home network.
Once the installation finishes, you’ll see a message saying "Installation Complete." Don’t close the terminal yet cause you will need the password to log into the web interface. Or better yet, change the password via
pihole -a -p
Step 8 Sign in to the web interface
Open your browser and go to your Pi' IP address, followed by /admin. For example, http://192.X.X.X/admin (not https)
Step 8.1 Understand the Web GUI
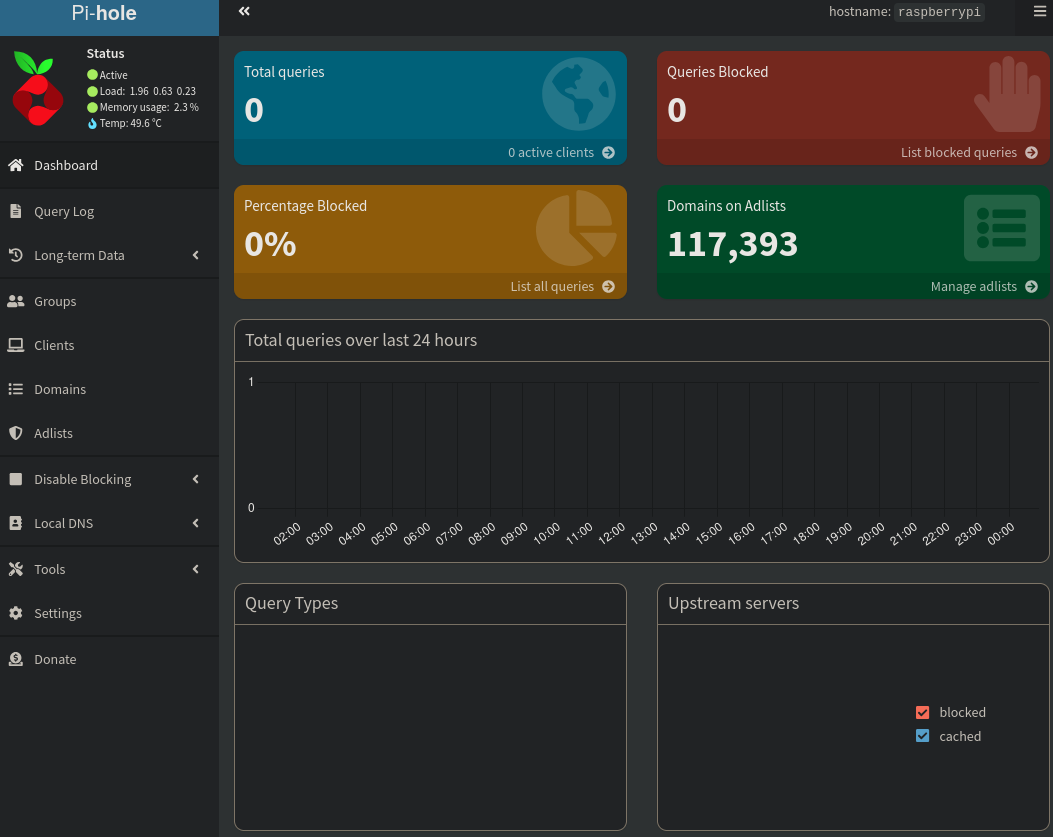
The Dashboard is the main landing page when you log into the Pihole Web GUI (see picture in Step 8). It shows an overview of key statistics in real time like total queries, queries blocked, percent blocked and number of domains blocked. As shown in the photo, most statistics are at 0 (except the number of domains in the blocklist) since we imported a blocklist during installation.
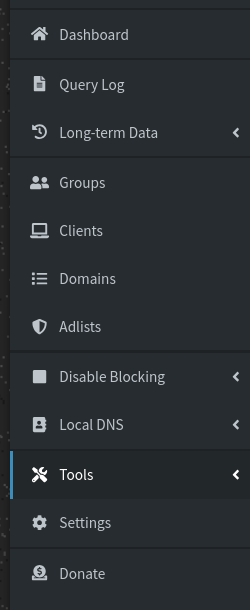
Query log displays a detailed, chronological list of DNS queries processed by Pihole. You’ll see timestamps, the client’s IP address, status (whether it was OK or Blocked). Now, If you're like me, seeing only IP addresses in the client column can be a bit confusing. To make it easier, you can enable Conditional Forwarding in the DNS settings. I'll explain more about this later in the Settings section.

The Clients section lets you manage specific devices (aka clients) on your network either via their IP address, MAC address or hostname. Groups, on the other hand, allows you to organise filtering settings. For example, you can create a group for work devices (which I intend to do soon) or guests and you can set up different blocklists or rules for them.
The Domains section is my favourite. This is where you can black or whitelist specific domains.
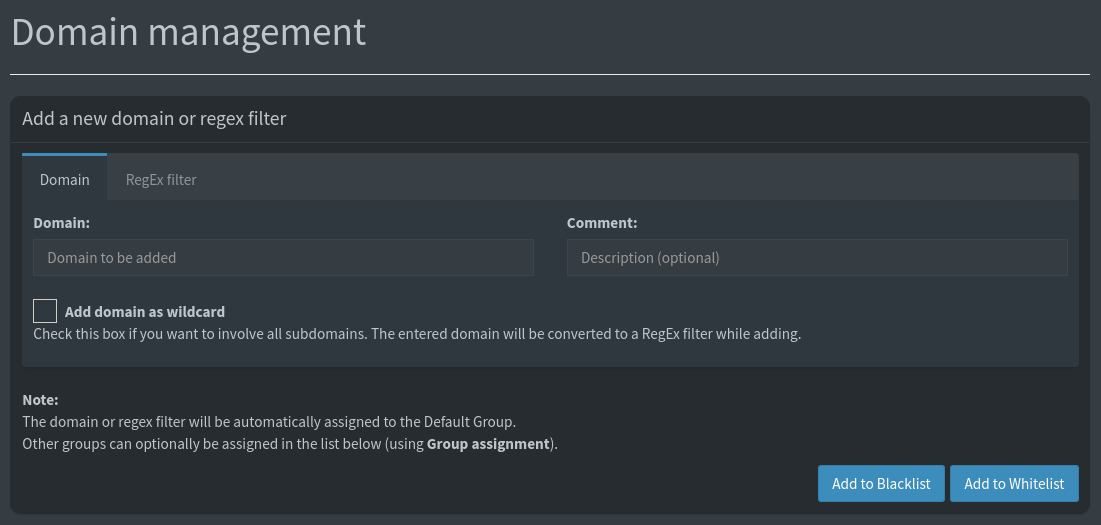
You can either add domain as a wildcard like what I did for Amazon and Netflix.

Last time, when I tried to add a domain to the blocklist, I encountered an error message:
"While executing: attempt to write a readonly database Added 0 out of 1 domains."
To troubleshoot, I ran the command
ls -l /etc/pihole/gravity.db
to check the permissions of the .db files in /etc/pihole. If you see r--, that means it’s read only atm. You need to change it to atleast have rw-. To do that, I ran the commands:
sudo chown pihole:pihole /etc/pihole/gravity.db
sudo chmod 644 /etc/pihole/gravity.db
If that didn’t work, try running pihole -r to repair the pihole.
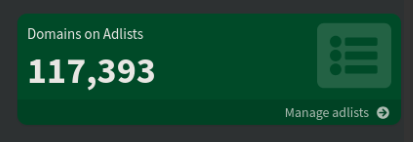
Then, we now go to the Adlist. Remember the 117, 393 domains on Adlist in the dashboard section photo awhile ago? This is where that happens.
The Adlist section lets you add, remove, or manage blocklists that Pihole uses to identify domains to block. This is basically the backbone of Pihole’s ability to block advertisements, trackers, and other unwanted domains. I have a couple of Adlist that I have gathered in the last few weeks. I am not suggesting that you include them, too. YMMV
This is where I get most of my blocklist:
Pihole has a Commonly Whitelisted Domains wiki post that provides useful insights on how and what to whitelist for things to work. I reversed engineer some of them and included them in my black list. For example, since I don’t use use Windows I included some of the domains necessary for Windows 10 update to work in the blacklist. You should also note that it is important to know your threat level before you block all domains. Ask yourself, what is the primary purpose of using Pihole on your network? How concerned am I with telemetry? Am I okay with things breaking if it enhances ‘privacy’?
Then we go to Tools. Tools has a section called Update Gravity. It is vital to do this whenever you add new domains in your black list or import an Adlist.
Lastly, we go to Settings. This the hub for configuring and fine-tuning your Pihole. It has several tabs: System, DNS, DHCP, Web Interface, API, Privacy and Teleporter. I will only talk about the DNS section for this blog entry.
The DNS section is where you configure upstream DNS providers (you will have Quad9 checked here if you selected Quad9 awhile ago during installation). If you’re thinking of installing Upbound, you don’t need to worry about this as you will change it later on.
IP addresses in the client section make me dizzy. This is why I prefer to see host names. This is where you can configure it. If you scroll down, you will see this
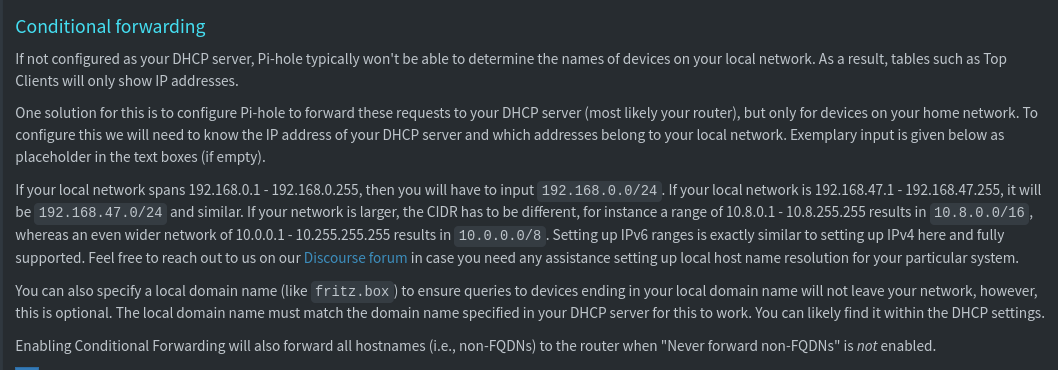
You can click Use Conditional Forwarding and put in your CIDR notation and IP address of your DHCP server (which is most likely your router).
For the CIDR notation, you can
ip -o -f inet addr show | awk '/scope global/ {print $4}'
This will give you something like 10.0.5.42/24. This is NOT what you put in the CIDR notation. You have to calculate it based on that. Given my above exmaple, you need to look at the /24, which means the first 24 bits (the "10.0.5" part) stay the same for every device in this network. The rest (last 8 bits) are for individual devices. To get the network address, you set the last part (the host bits) to 0 because the network address always represents the starting point of the network. This makes your CIDR 10.0.5.0/24.
For the IP address of your DHCP server, which is most likely your router. Run either of the following commands:
ip a
ip route | grep default
Step 9. Make your devices use Pihole
I originally tested it with my phone. I am using GrapheneOs. If you go to Settings > Network and Internet > Private DNS, you can put the IP address of your Pihole there. But, of course, I didn’t just install pihole for my phone to use. I set it up in my router. Again, my router is Ubiquiti Dream Machine, which means it will be under
Network > Settings > Networks > Click a Device > Scroll to DHCP Service Management Show Options > DNS Server > unclick Auto > Type your Pihole Ip address.
I also did it for the Internet section as well.
Network > Settings > Internet > Click a Device > Scroll to Ipv4 Configuration > Primary Server > Type your Pihole Ip address.
If youre NOT using dream machine, then yours might be in a different place.
Step 10 (optional). Move your pihole from 4Gb MicroSD to a bigger memory card
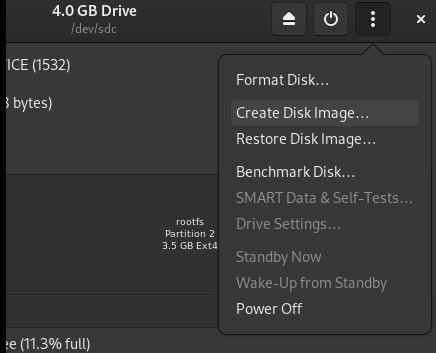
There are other options out there like the Rpi-Clone, but for some reasons, I couldn’t make it work. So we just used the Disk Manager to create a disk image out of the original Pihole microSD, saved it somewhere, removed the microSD, inserted the new microSD, and then clicked "Restore Disk Image."
And there you go! My next blog entry will be on how to install Unbound and Wireguard, so you can also avail the benefits of pi-hole while youre outside of your home network.
NEXT: UNBOUND