Making Calibre-web work with KOReader
Calibre Web server is a fantastic tool to own your ebooks! It's easy to install and surprisingly works well with KOReader.
Skip to third paragraph if you don’t want to read the dramas of my life.
I have to admit that I was a physical book purist for so many years before I ventured into ebooks. I was a smug until I realised I couldn’t actually take most of my books with me whenever I move to another country. And I moved so many times. This meant leaving behind so many books in the process because of the 30kg airline limitations.
My partner got me Kobo Elipsa for my birthday last year, and I love it! But, I wanted it to make it more 'me'. Call it Kobo à la Jean, if I may. I installed KOReader as it gives me illusion of more control. But let's be real, are we ever truly in control? In a world dominated by the relentless forces of neoliberal capitalism, who are we really? Now, back to the heart of our discussion. KOReader is fantastic and so customisable. Kinda reminds of the old mobile phones back in early 2000s. It was overwhelming at first, but I got used to it.
I will write a post on KOReader in the future, but this one is more about how to make Calibre-web work with KOReader. It assumes that you already have KOReader installed in your device. You can install this on a VM or locally in your device. I also used VS code mostly for this. Adiamo, let's get started.
Step 1. Install Docker
curl -sSL https://get.docker.com | sh
Step 2. Next, open Visual Studio Code
Open the integrated terminal in VSCode by pressing Ctrl + ` (that's the control key plus the backtick, the button next to number 1 in UK keyboard layout).
In the terminal, create a new folder in your current directory where you will work with Docker. You can name this folder anything you like. For example, I called it calibre02, so I ran the following command:
mkdir calibre02
After you've created the directory, you gotta change into your new directory with the command:
cd calibre02
Next, create two subfolders named data and library by running:
mkdir library data
Then, create a new file named compose.yml with the command:
touch compose.yml
Once these steps are completed in VSCode, you'll see the compose.yml file listed in the sidebar like this:
STEP 3. Edit the compose.yml
Copy the template below, which you can also find here. You might want to change the TZ section to match the timezone you are in. If you don’t know your TZ identifier, Wikipedia is here to help.
services:
calibre-web:
image: lscr.io/linuxserver/calibre-web:latest
container_name: calibre-web
environment:
    - PUID=1000
    - PGID=1000
    - TZ=
    - DOCKER_MODS=linuxserver/mods:universal-calibre #optional
    - OAUTHLIB_RELAX_TOKEN_SCOPE=1 #optional
volumes:
    - /path/to/calibre-web/data:/config
    - /path/to/calibre/library:/books
ports:
    - 8083:8083
restart: unless-stopped
You also need to change the two paths listed to match where you put the data and the library folder. /path/to/calibre-web/data:/config mounts the data directory from the host machine (where youre installing calibre) to the /config directory inside the Docker container. This means that changes made to files in the /config directory inside the container will be reflected in the data directory on the host and vice versa. Same for the library folder. The way this works is like your family calling you a different nickname when you have another nickname at school.
Once you finished configuring the compose file, run
docker compose up -d
STEP 4. Go to the Calibre-Web Web GUI
If you didn’t change the port number in the docker compose file, go to http:your-ip-address/8083. Log in using the following username and password
username: admin
password: admin123
You can change this later on in the settings.
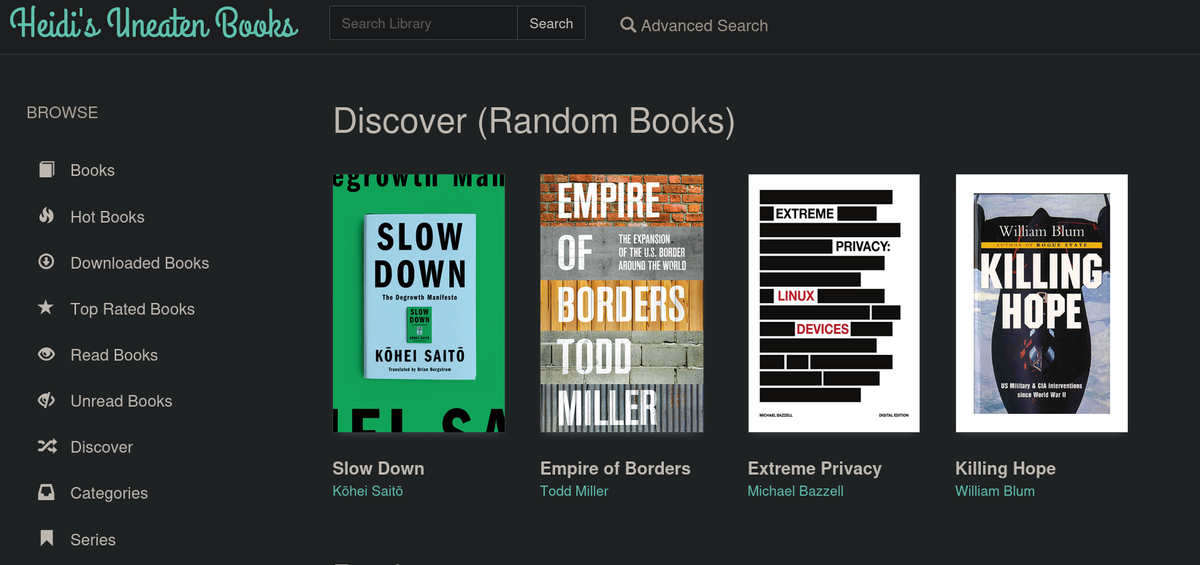
Now, you will see the landing page! I have already customised mine a little bit. This is why you can see Heidi’s Uneaten Books as the name of the server instead of Calibre Web.
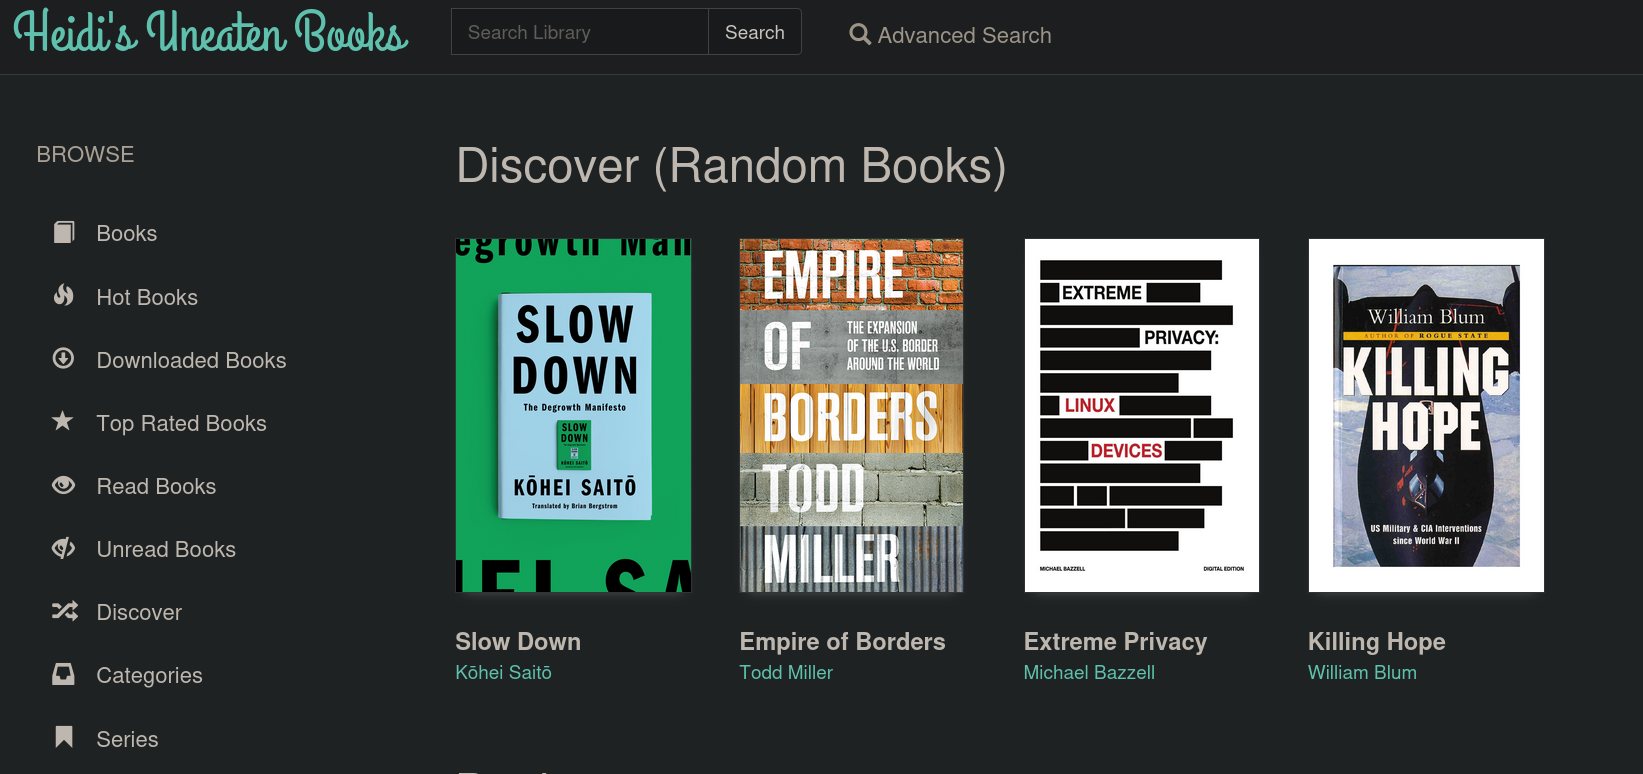
I won’t talk about customisation in this blog, but you can do so by clicking on the Admin icon that features a speedometer, not the icon that depicts a person.
Now, let's proceed with adding a database to your setup:
I downloaded metadata.db from here or you can just create one. Copy this file into the config directory in your project folder. To configure the database within the GUI, again click on the Admin icon with the speedometer logo to access the settings. From here, select Edit Calibre Database Configuration. In the configuration menu, specify the path to the database file by choosing the /config directory. So, it should look like this:
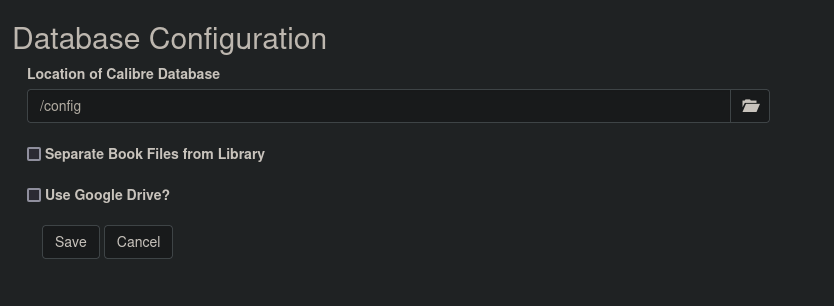
This will link your application to the database and allow it to use the metadata.db file you placed in the config folder.
You have a couple of options for adding books. For a singple book upload, click the Upload button to select and upload one book at a time.

Or better yet, if you have heaps of books like myself, you can drag multiple books on the GUI to upload them all at once. After uploading your books, it's a good idea to organise them by creating shelves.
Shelves allow you to organise your books into categories or series. I created one called Non-Fiction, as you can see here:
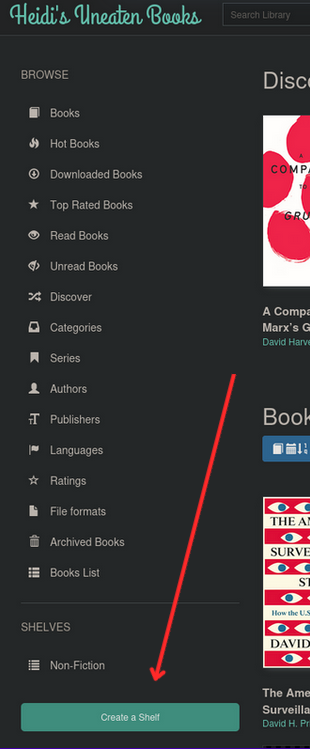
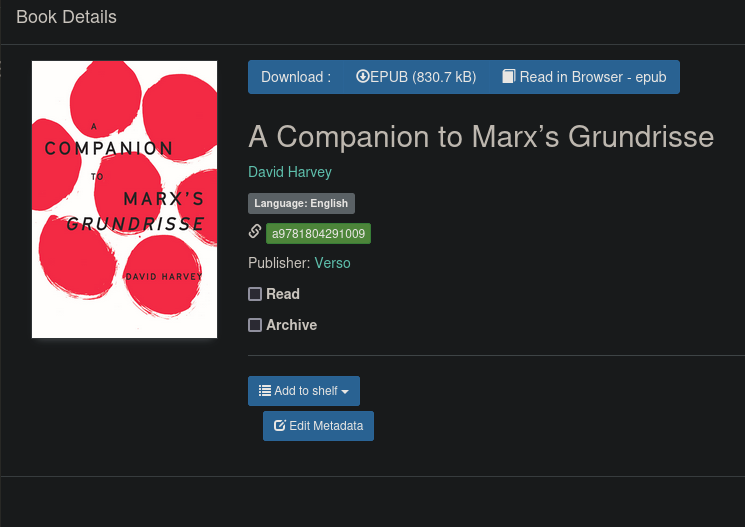
Shelves are also crucial when syncing books to your KOReader because they allow you to manage which books get synced. To add books in the shelf you made, you can click the book thumbnail and click Add to shelf
STEP 5. Setting up your Kobo
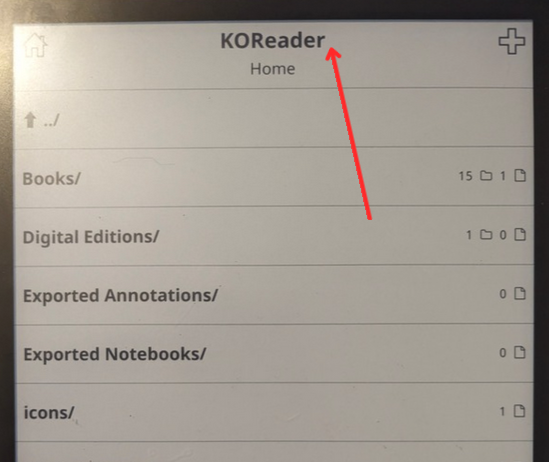
On the KOReader home page, click on the prominent KOReader logo at the top.
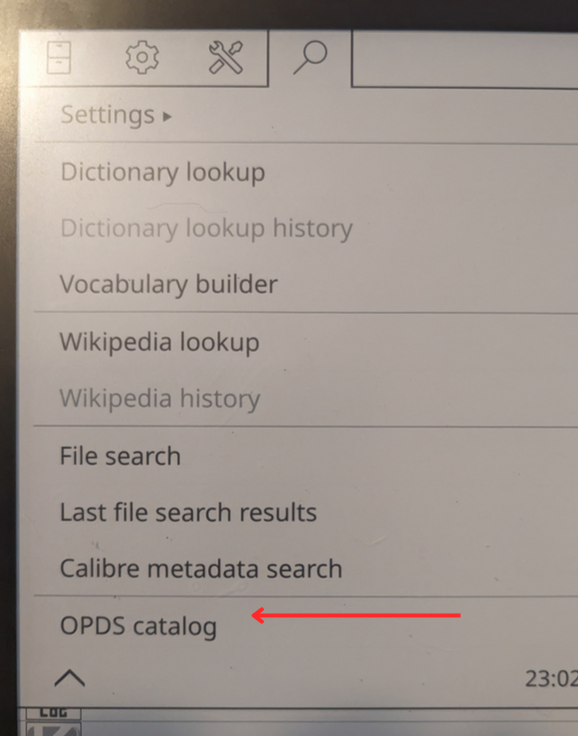
Once you click the logo, four tabs will appear. Select the magnifying glass icon to go to the OPDS catalog section.
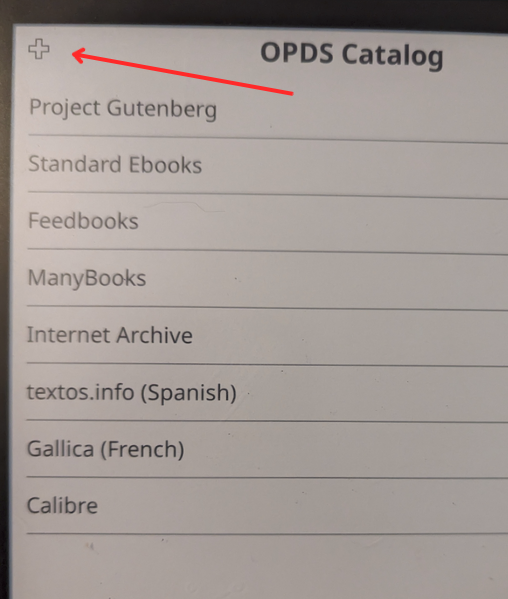
In the OPDS catalog view, find and click the + button located in the upper-left corner of the screen to add a new catalog.
It will ask you to fill out the following:
Catalog Name: Enter whatever name you want
Catalog URL: Type in http://your-ip-address:8083/opds. Be sure to include /opds at the end of the URL.
Username: Use the username of the web interface, which is admin by default.
Password: Enter the password for the web interface; the default is admin123 if it hasn't been changed.
Aaaaand that should work! You should be able to connect to your Calibre Web server. From there click the folder 'SHELVES' which may be on page. Click on the book you wish to download. You'll have the option to choose where to save the file on your device. After the download, the interface will show you the location where the file has been saved. You'll then be presented with options to either 'READ LATER' or 'READ NOW'. The rest are self-explanatory.
I will write another blog entry when I make the Calibre Web public so I can access it even when I am overseas. For now, ciao! :)